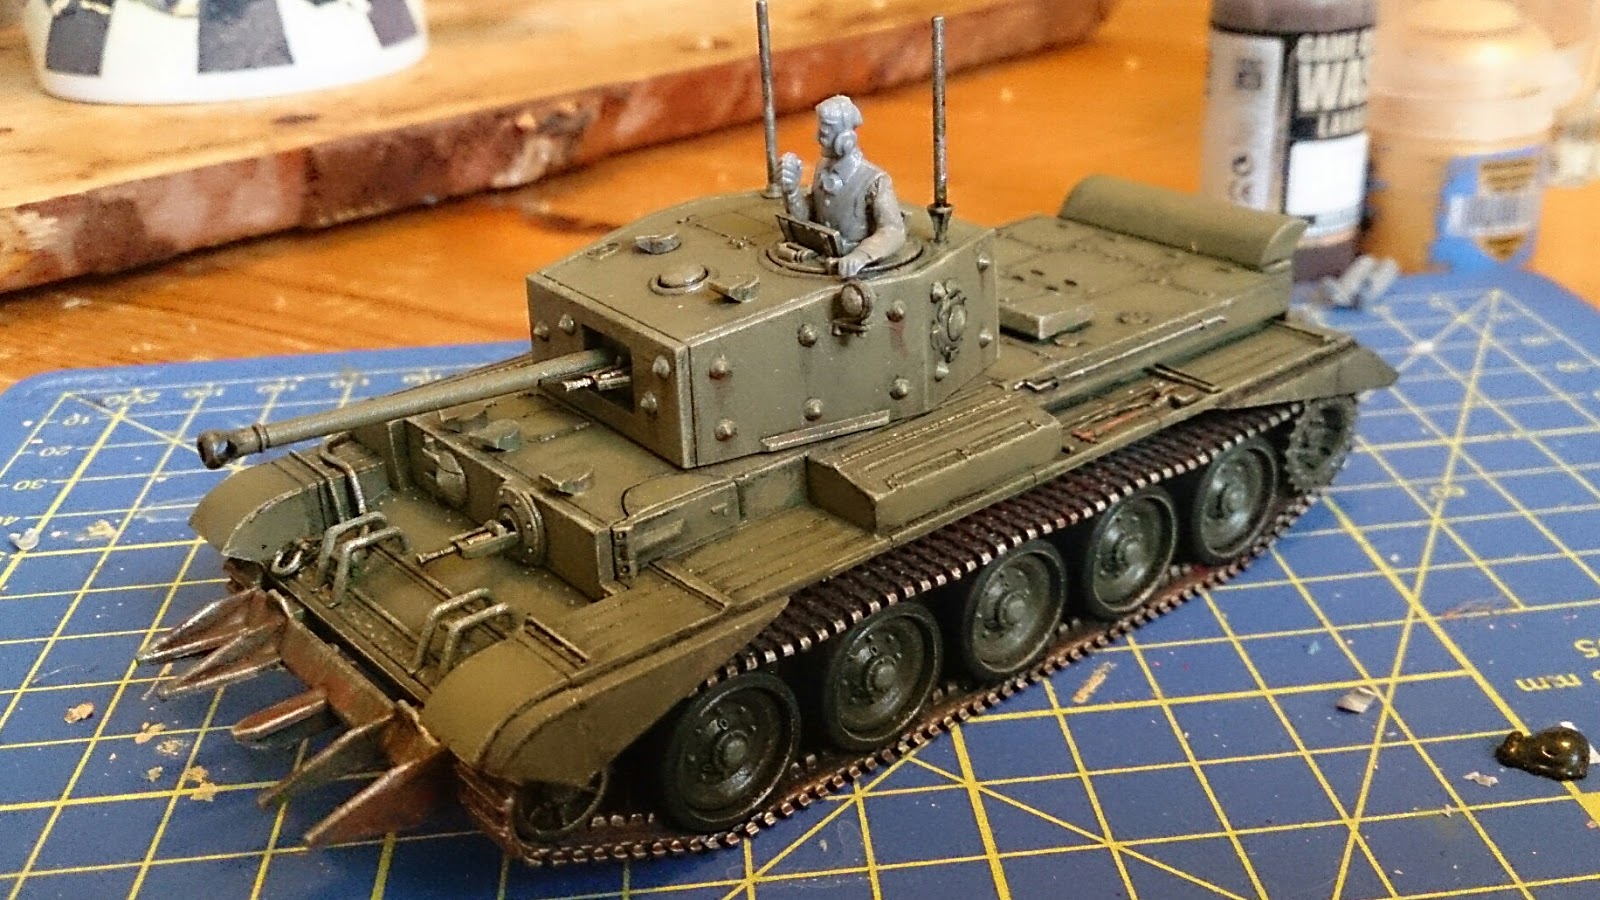
At the end of the last post the basic paint job on the Cromwell was done; shading and highlighting of the main hull and turret completed. Details like the tracks and tools lacked paint however, and the application of markings and weathering was also left. Since I foolishly had left the top hatch open I also needed to paint a commander.
 |
| A Tamiya 1/48 scale crewman volunteers for duty. |
First I painted the tracks and the prong with Coat d'Arms Rust, and then did a liberal wetbrush with GW Ironbreaker. Any other metal items like the tools and machine guns were also painted now, and then I gave all metal areas a black wash. I also painted some Rust streaks on the sides of the turret, gave the shovel a wooden handle and painted the wheel rims P3 Coal Black.
 |
| Metals done. |
Next up was the application of markings. Italeri provides markings for two vehicles, one from the 7th Armoured Division, a.k.a the Desert Rats and one from the 1st Polish Armoured Division, both from the Normandie campaign, sweet. Also present on the decal sheet are several different but sequential tank numbers, should you want to do platoon of Cromwells from the same unit with similar numbers (presumably from the same production series).
 |
| Failed attempt at applying the turret marking. |
The Cromwell should have a big allied star on the top of the turret for aerial recognition (meaning you don't get strafed by your own side) but it's supposed to go on top of the domeshape disc on the turret roof, and partially on one of the periscope covers. It was a hassle to get it to sit flat and an attempt to cut around the dome failed spectacularly. Oh well...
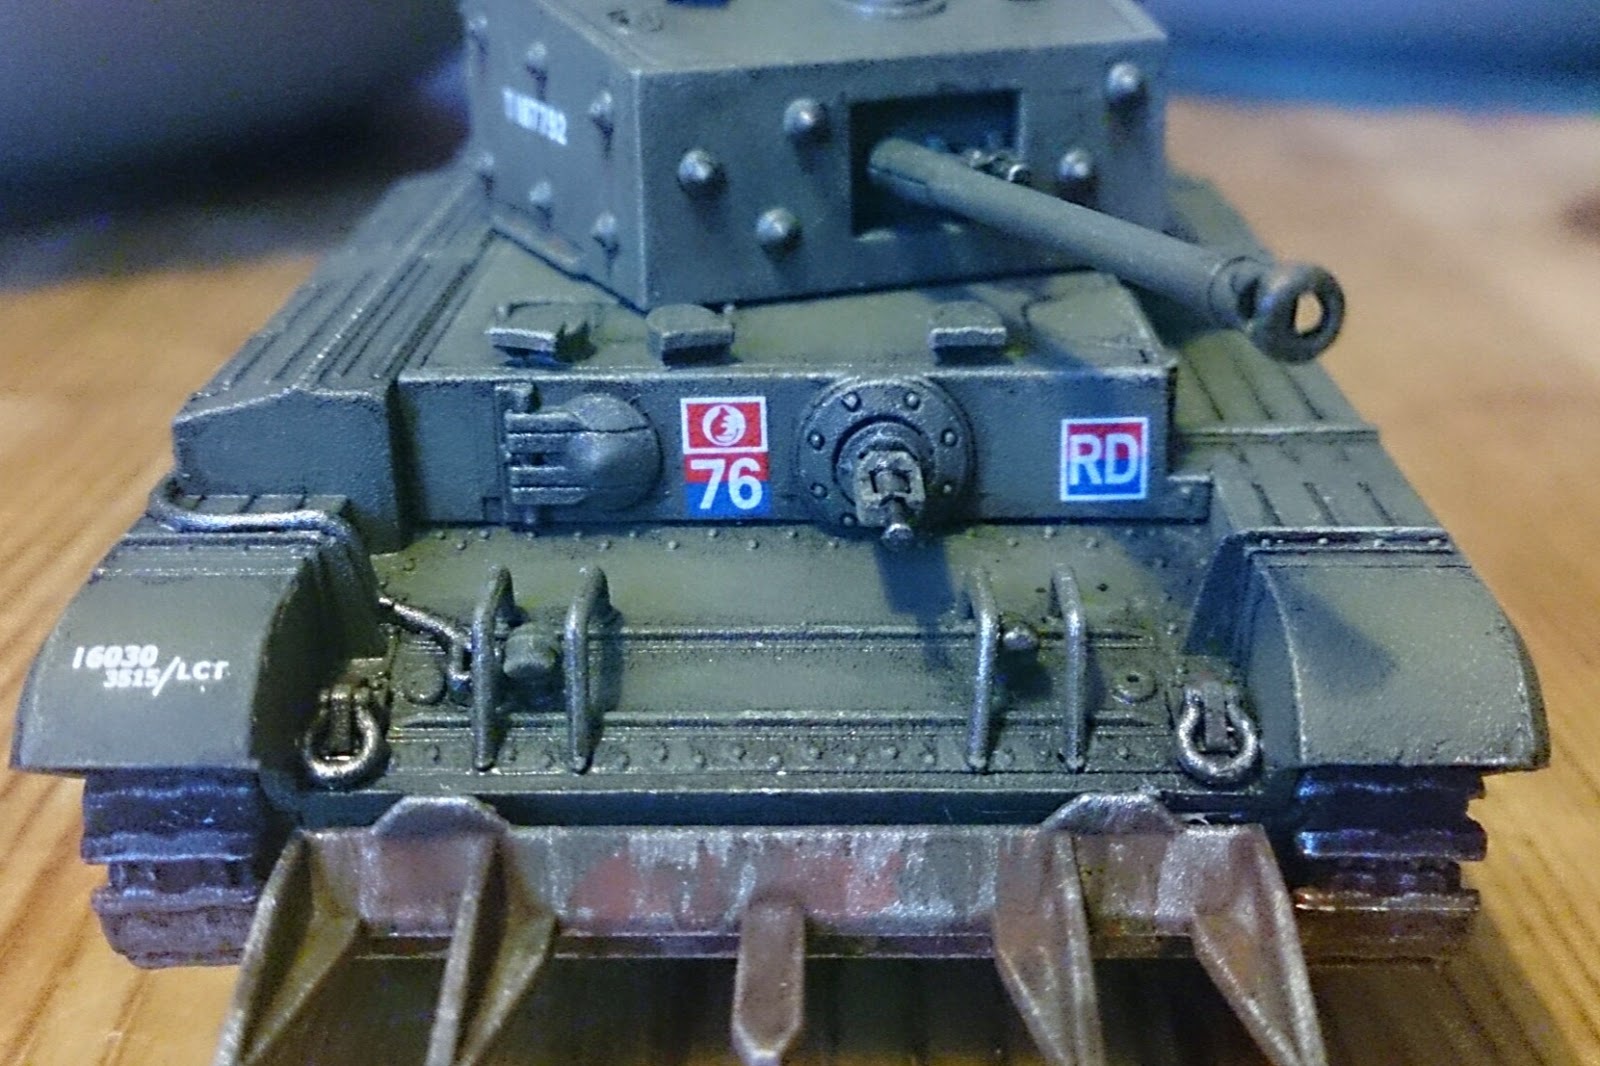 |
| Front markings. |
 |
| Rear markings |
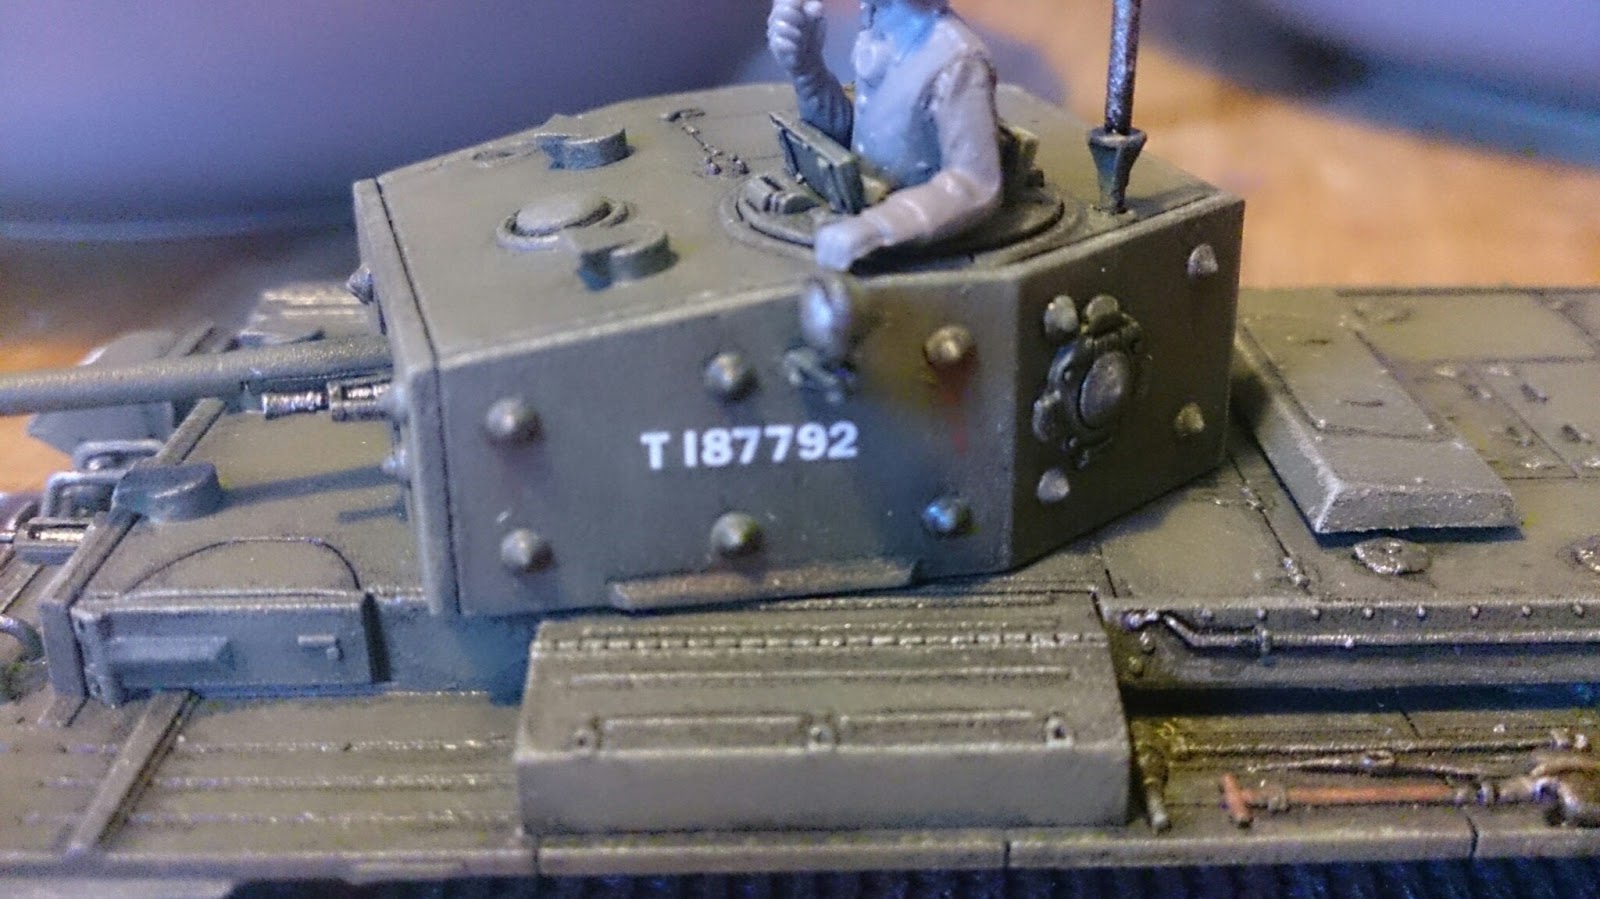 |
| Tank number on the turret. |
The markings stand out quite a bit when freshly applied, so in order to tone them down a bit they were overpainted with a very diluted mix of Vallejo Russian Uniform and white, which makes them look faded. This was also used to create vertical highlights on the side of the turret and on the turret roof. I dragged the highlights out a bit to add the illusion of rain streaks.
,
 |
| Faded markings |
 |
| Note how the blue practically disappears while the red still stands out quite a bit. |
The commander was painted with the same colours as the rest of my brits, but I only used two layers on his clothes instead of three.
 |
| Now there's a jolly chap, considering he has no legs. |
All that was left was to dust the Cromwell with MIG Pigments European Dust, particularly on the tracks and wheels and on the lower hull. I used some pigments to add variation on the engine deck and front glacis as well as on the markings to blend them in even more. Pigments are also great to hide any small mistakes you made while painting.
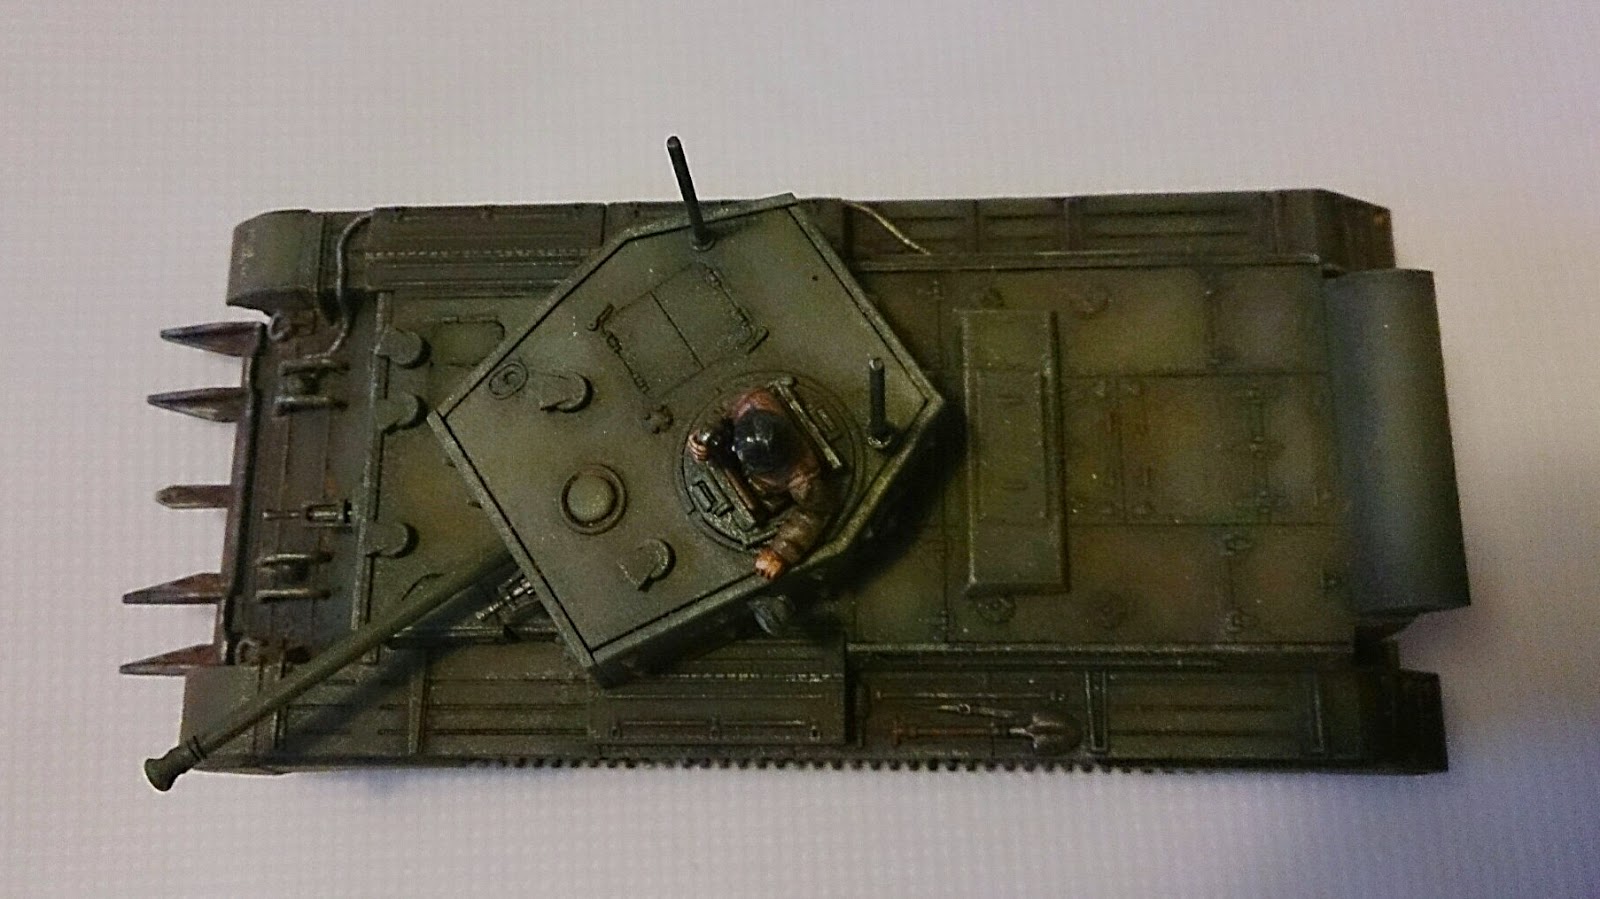 |
| Note the earthy dust on top of the engine deck. |
 |
| "Enemy tank two o'clock, fire!" |
 |
| Turning the other cheek. |
 |
| I like how it turned out, the pigments and colour variation really adds interest to what would otherwise be plain green. |
 |
| "Let me take a selfie." |
 |
| The pigments further help to blend in the markings. |
I'm quite happy with the paint job, but there are some problems with this kit that I didn't realise when I built it. In my usual building frenzy I just went ahead and plonked everything on, and very uncharacteristically for me, I then proceeded to paint it almost immediately. Only afterwards did I look in my Osprey book on Cromwells. And here's what I found out:
- The prong was inspired by the American improvised "Cullin device", but was factory manufactured and didn't begin production until september 1944, and none was fitted to a combat vehicle.
- The double antennas are typical of Artillery Observation or HQ tanks.
- Therefore the markings supplied are -- correctly -- for the Divisional HQ of the Polish 1st Armoured Division, and an observation post tank of 7th Armoured Division.
- Unfortunately the command and observation tanks had the gun removed to be able to fit a second radio set in the turret, and a wooden dummy barrel was used to disguise the tank.
So instead of building a fighting vehicle as I though I had, I have built a mobile Artillery Observation Post. Of course, I can still use it in a game, but as I want to build a whole squadron it would be nice to have correct markings. So I went to look at the Warlord version, and while it ships with markings for regular tanks they are unfortunately incorrect for the Desert Rats.
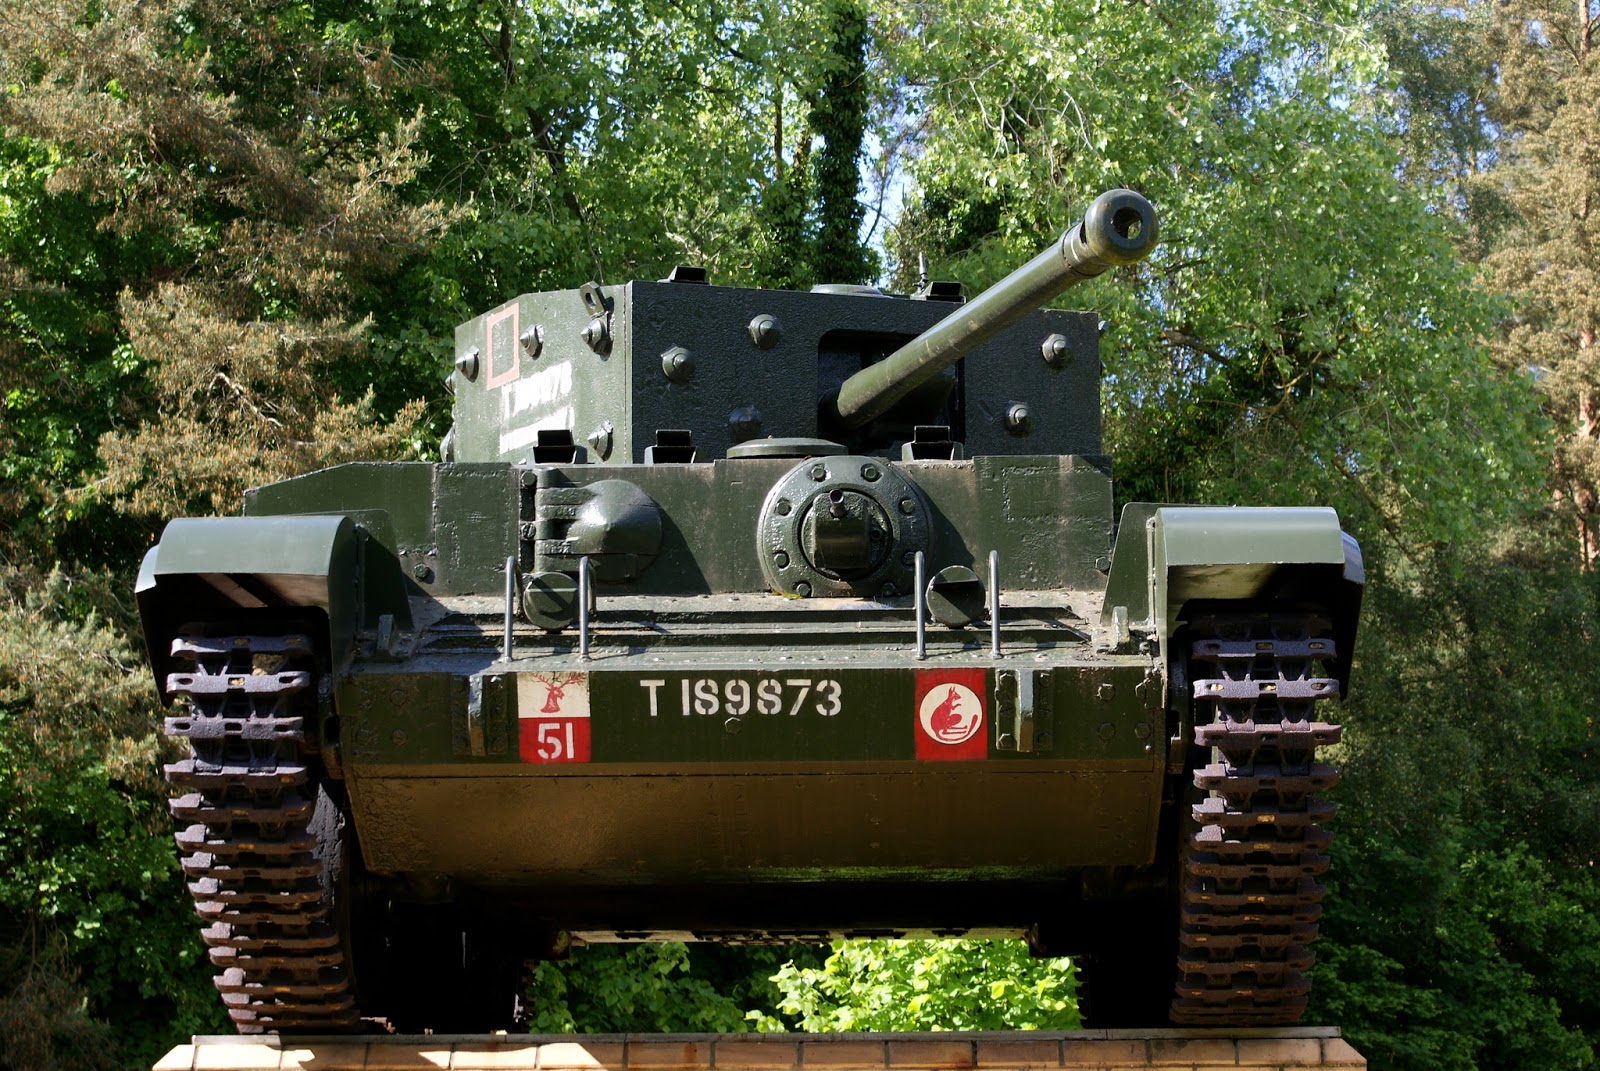 |
| Note the stag's head above the batallion number on the left. |
 |
| Warlord's decal sheet for the Cromwell is a generic decal sheet. I think the tank names are for Shermans, even. |
Note that Italeri's decals are quite correct, it's just that none is for a combat tank. Warlord's decals are probably correct for the other units too. Maybe I should just buy a squadron of Tamiya Cromwells, they have the markings I want. And they have a Firefly in 1/48 as well, hm...

Very nice works! Getting decals on sloped surfaces and hatches can really be a pain. Still I wouldn't have noticed it missing if you hadn't said so :)
SvaraRaderaYeah, it's not necessary, but was common since the allies had air supremacy and those fighter bombers apparently strafed anything that moved. I will probably add some stowage and a bright red aerial recognition drape on the rear deck.
Radera